
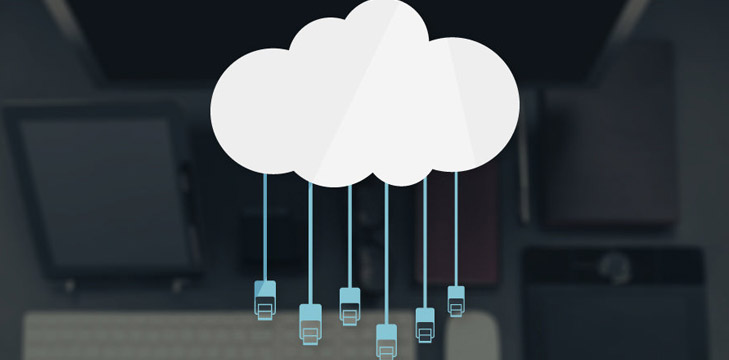
Cloud storage has been around for some time now and followed by cloud synced folders. But now we are talking about an entire local drive mapped to the Cloud. The convenience of storing and accessing the data has moved one level up each time. Setting up a cloud network drive sounds tricky, but actually, it’s not. Just a tweak here and a tweak there is all that you need to do.
Why Move Ahead From Sync Folders?
For a good reason. Sync folders automatically copy the data to the cloud. This makes all your data available to you on all devices that are linked to that very account. You can always go for selective syncing, simply select the folders you want to sync to your cloud. But that’s too much of a work. If this isn’t the reason enough to move on from sync folders, then I don’t know what is.
A Little About The Virtual Drive
Let me introduce you to the much talked about Cloud network storage drives. It has the face of the usual hard drive in your system but instead of taking up space on your PC, it stores data on a server. It can be an in-house server for business, i.e LAN and a network attached storage, i.e NAS for home.
Mapping The Drive
It isn’t hard to map the Cloud Storage Network Drive. You can do that in two ways. Either you must find a Cloud storage service with network drive client or you can mount it yourself. Finding a Cloud storage service with network drive client is always easier and cheaper. There are just a handful of cloud storage services that offer such clients. To name a few: pCloud, Tresorit, and Egnyte and suppose if by chance if your data lost, then you can go through this PC Data Recovery to backup your data.
And you can also turn Google Drive into a mapped drive. For mounting, you can choose one from several third-party applications. Some such applications, like Mountain Duck or CloudBerry. Both work properly with three big names- Dropbox, Google Drive, and OneDrive. These applications also support API connections to services like Amazon S3, MS Azure, Wasabi, Google Drive, Backblaze B2 etc. Some of them even support WebDAV. In simple language, this adds plenty more options, like pCloud and Amazon Drive, to the list of mounting possibilities.
Our other services CCTV Repair Service Dubai
How To Mount Your Drive
Download and install the third party application and then reboot your system. You will see the application appear in your taskbar. Right-click on the icon and go to new bookmark option to open a connection window. Now, click on the drop-down menu at the box that says WebDAV and select your Cloud Storage. Skip to the Drive Letter section and select the letter for your drive and click on connect.
In case of GDrive, Dropbox, and OneDrive, you will be taken to your default browser for permission. Once you grant the permission, you will receive an authorization code that you will need to enter in the required field. You will be prompted to enter this code after clicking on connect option. And that’s done.
Your Cloud service will be added to your system with the drive letter you selected. You can just click on the drive letter to access the Cloud Stored Files. These third-party applications come with some additional features as well that differs with the application. You can also check out netDrive, ExpanDrive, Mountain Duck or CloudBerry for mounting your drive. Easy thing, right?